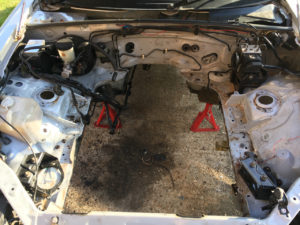
The Bullet gearbox adapter kit has been ordered and is en-route from Australia. There’s plenty to be going on with in the meantime, however, and have got the old engine out, along with much of the dash and interior to allow access to the wiring.
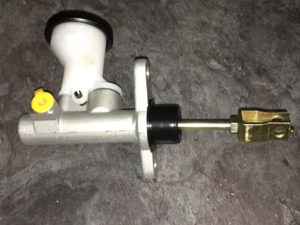
I’ve also received the Toyota HiLux clutch master cylinder which is needed to work with the Bullet kit.
In total, I’ve now removed…
- engine and gearbox
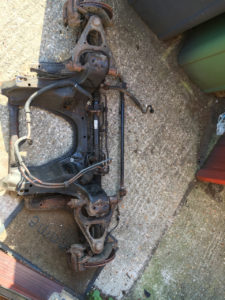
- subframe, suspension and steering (left the column in place)
- most plastic liner panels
- HVAC components
- dashboard
- primary loom wiring and associated sensor wires
- ECU
I’ve also removed the fuel lines from the old carbon canister and breather which were required for Japanese regulations, but aren’t needed here and tidies up the engine bay a bit.
On top of that, I’ve cut out much of the extraneous wiring from the loom that’s left in situ which is also looking much tidier.
All that’s really left in the engine bay now is the ABS unit and piping, the coolant expansion tank and the fuel line. Other than that it’s looking pretty bare as you can see.
With the new engine, I’ve cleaned up most of the outer casings, replaced the plugs, cleaned the fuel injectors and replaced the filter baskets and seals on those, and have a cam-belt and serpentine belt to go on. top service from Mr Injector for those seals and filters. For this task, I use an ultrasonic cleaner. It’s a fantastic way of getting ALL the grot off smaller components.
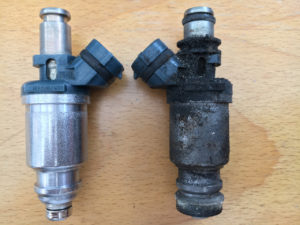
A clean, and not so clean fuel injector (the dirty one still has it’s seals on hence looking bulkier)
In addition, I’m still working on some blanking plates to allow complete removal of the EGR valve system while will make life easier in the long run as well as safe a little weight.
I’ve sourced an air-conditioning heaterbox which I’ve offered up and fits nicely so that, in conjunction with the stock Lexus pump on the engine, should make for retrofitting air-con a relatively painless task. I can source custom piping and a condensor from Car Builder Solutions but will come back to that once the engine is in it’s initial position so I can route the pipes appropriately.
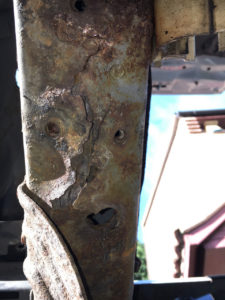
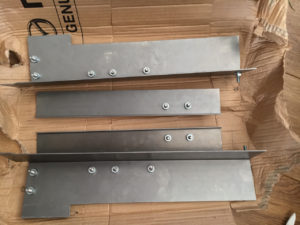
I’ve also got the panels from the MX5 Restorer and in inspecting the chassis arms, it’s just as well really. There’s a fair amount of rot on the passenger side and while the driver’s side isn’t as bad, it’s not far behind so it makes sense to deal with that while I have the access.
Removing the ARB mounts is a fiddle as there are, in addition to the 4 bolts on each one, two spot welds on each to drill out. However, they’re clear and giving better access to the rusty sections.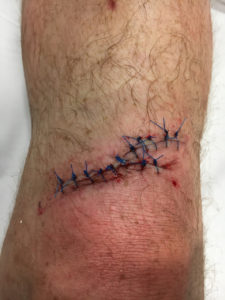
It’s at this stage that it’s gone a little pear shaped. While cutting out the rot with a cutting disk on the angle grinder, it found a particularly soft, rusty section of chassis arm and sank in deeper than expected, quickly followed by biting on a piece of thicker, less rusty steel. The disk broke, the remainder of the wheel bit and jumped the angle grinder out of my hand, bouncing off my knee in the process.
3 hrs in A&E and 13 stitches later, I think my progress will be a little slower until I’m fully healed.
Some more pics for your perusal:
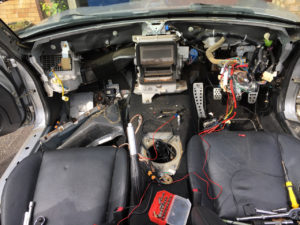
Dash removed (Air con unit goes between the fan on the far left and the main HVAC unit in the center)

